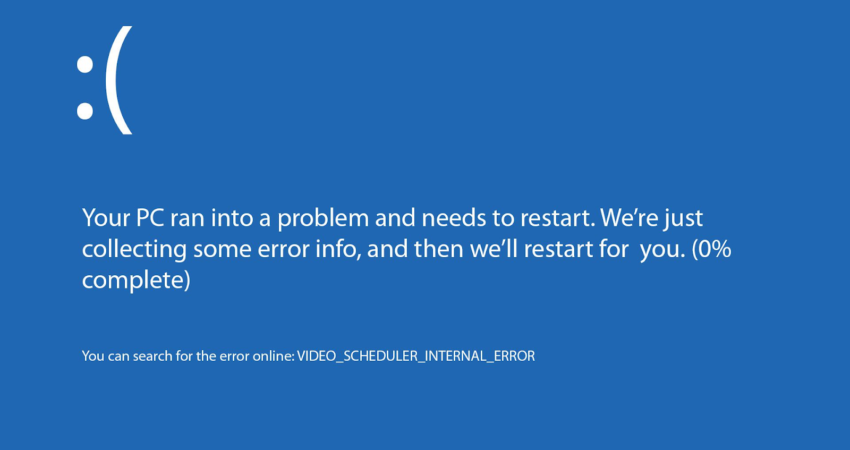
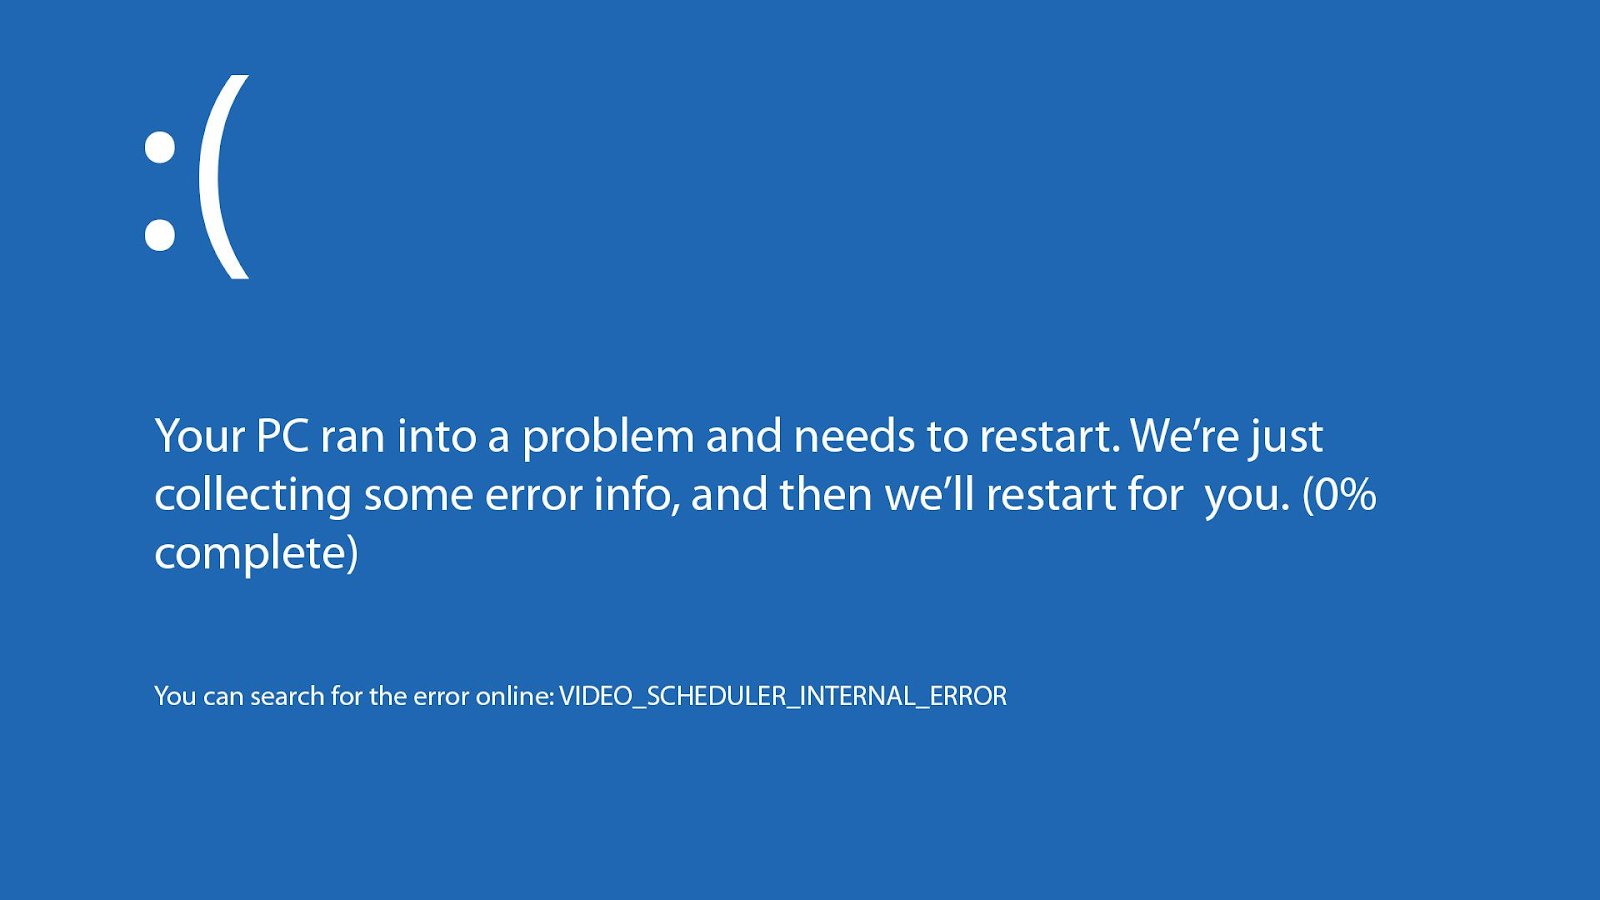
Video scheduler internal error is highly common and can happen to almost everyone. During this issue, the Windows scheduler fails and shows the “Blue Screen of Death (BSOD) error.” Multiple reasons may cause this type of situation, including hardware and software problems. Here’s how your screen would look when this error comes up.
If you are facing a video driver issue, then you should restart your computer. Almost all the time this will fix the issue. If it doesn’t, then you need to get your hands dirty and do some basic troubleshooting.
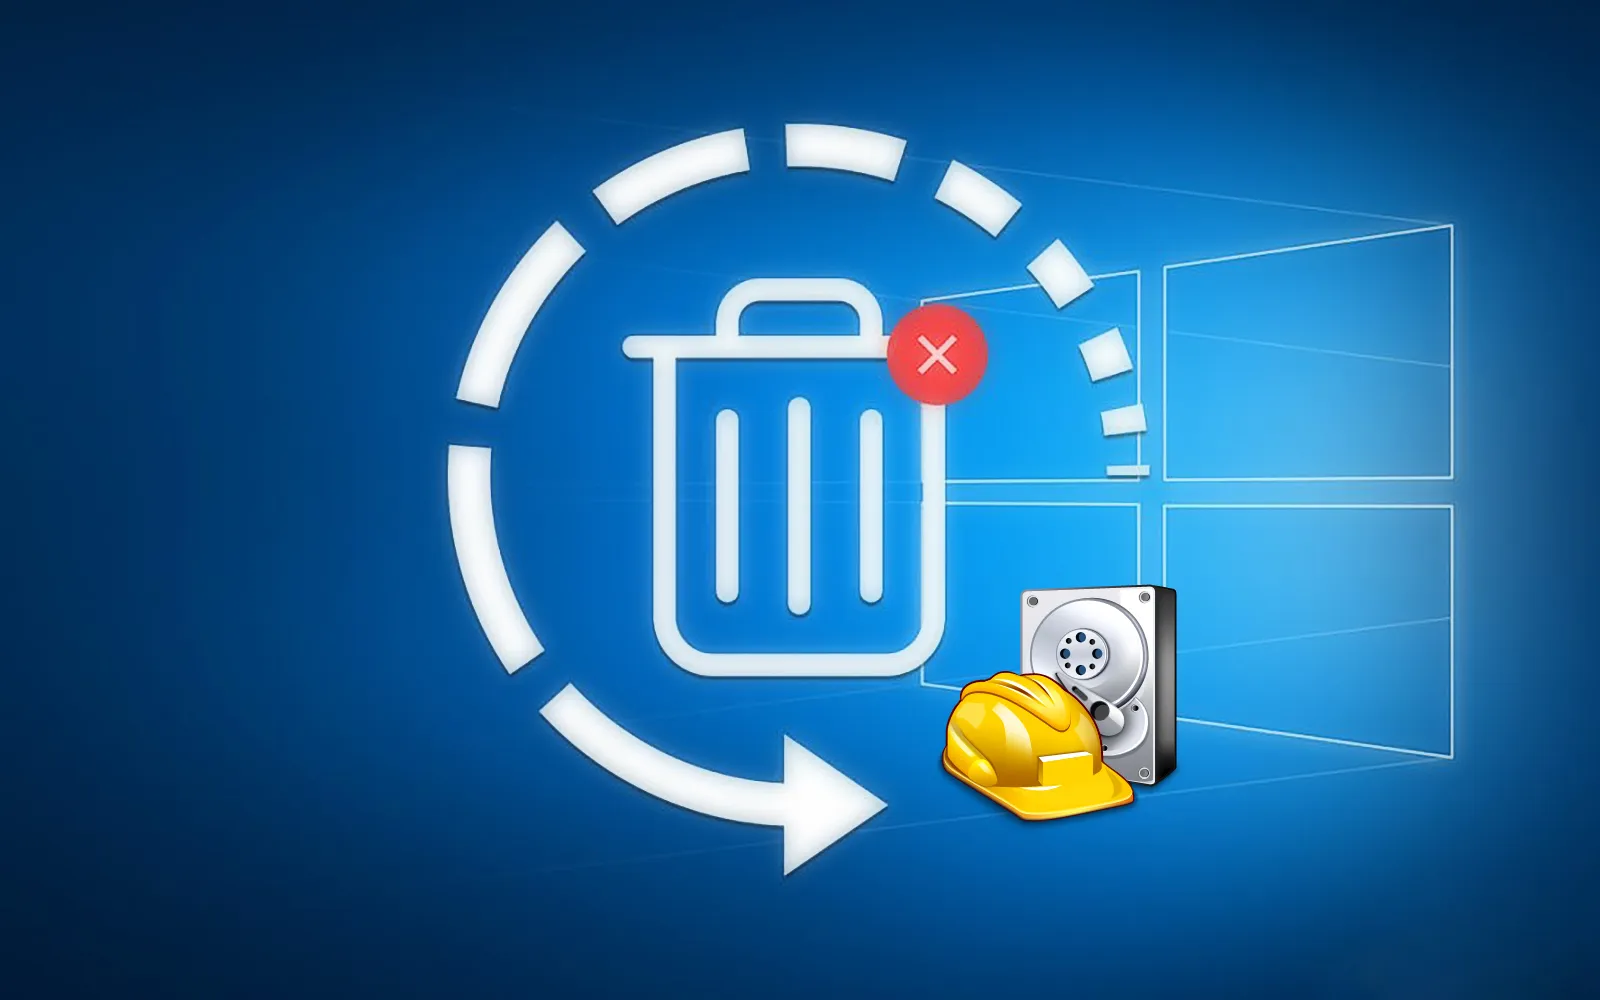
If you’re on this blog. then chances are you may have searched on Google, “how to fix video scheduling internal error”. Now that you’re here, read till the end to fix the issues.
How To Fix The Video Scheduler Internal Issue?
There are multiple steps you can follow to fix the video scheduler error on your device. The process is fairly easy, and almost everyone can follow the steps. Let’s get to it:
1. Restart your computer
Restarting your device has become meme material. But, in the world of IT troubleshooting, it is one of the most reliable methods to fix small issues. Restarting your device tends to reset all the hardware and software settings. Thus, eliminating all the small errors. And obviously, this includes video scheduler internal error:
- First off. close all the running programs from your device.
- Next, turn off your computer.
- Then remove your power cable from the wall and disconnect all the external devices that you are using.
- After some time plug your power cable back into the power switch, press the power button on your computer, and wait for it to boot.
- Hold the F8 key until your computer starts.
- Thereafter click on Advance Boot Options.
- Choose to turn on your device in Safe Mode.
- Then click on Repair Your Computer button.
- Now, select the option to activate the Safe mode with Networking.
- After that, choose to start your device in Safe Mode using Command Prompt.
- Next, hit the Windows button, and type “cmd”.
- In the Command Prompt, write “net stop scheduler”.
- Once the process completes, write the “scheduler start” and hit ENTER.
- And write “scheduler stop” and hit ENTER.
- Next, type “scheduler status” and put your finger on the ENTER button.
- Finally, write “scheduler restart” and hit ENTER.
2. Try to Update Your Video Drivers
Outdated video errors are a major culprit for video scheduler error. Do keep in mind that with every Windows update, drivers for videos, network adapters, monitors, video cards, etc are automatically updated. But, if you’re still facing issues and want to update the drivers manually, follow these steps:

- Press the Windows key on your computer, type “Device Manager”, then open the settings that show up.
- Choose a category to see the names of the devices, then right-click on the name of the driver you want to update.
- Click on “Search automatically for updated driver software.”
- Click on “Update Driver.”
- If Windows is unable to find a new driver, you can try searching for the driver on the manufacturer’s website.
Reinstall the Device Driver
- Press the Windows key on your computer, type “Device Manager”, then open the settings that show up.
- Right-click on the name of the device, and then click on Uninstall.
- Restart your device.
- Windows will automatically reinstall the latest driver.
This is probably the simplest way to fix the Video scheduler internal error.
3. Roll Back Your Video Drivers
If you’ve recently updated your drivers, and since then you’re facing the Video Scheduler error, then the issue is with the latest driver version. Here are the steps to go back to the previous video driver version.
- Go to Start > Settings> Control Panel.
- Then tap on Display.
- Next, tap on Advance Display Settings.
- After that tap on the Setting button next to the Video Adaptor.
- Thereafter, tap on the Roll Back Drivers option.
- Now click on the Next button.
- After that click on OK.
- Finally, restart your device.
Alternative Methods to Fix Video Scheduler Internal Error
Let’s say you’ve tried everything and nothing is working, here are some other methods to fix the issue. Some of these steps require basic troubleshooting, some don’t. Try these out for yourself, and see which method works the best.
- You can try a different video player.
- You can reinstall your video drivers.
- You can disable hardware acceleration.
- You can access the Windows Media Player Troubleshooter.
- You can also reset the Windows Media Player settings.
- You can remove the Windows Media Player database.
- You can install the K-Lite Codec Pack.
Conclusion – Troubleshooting Video Scheduler Internal Error
Video Scheduler Errors can be annoying. Fortunately, there are some basic troubleshooting you can do to fix the issue. Here’s a quick summary of the troubleshooting steps mentioned above:
- Restart your computer
- Update your video drivers
- Roll back your video drivers